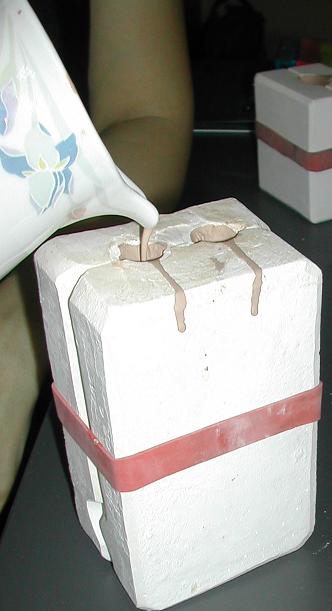
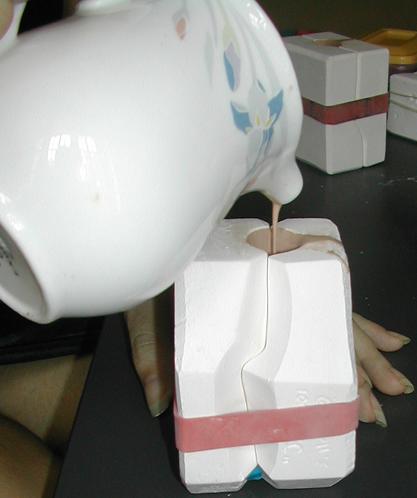
The second pouring:
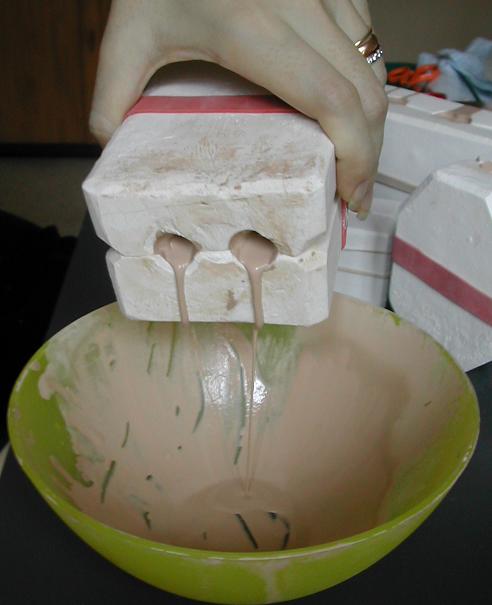
That's right!! We have to repeat the entire pouring and draining process once more. This results in a sturdier doll, so make sure you have mixed up enough Flumo or Liquache of the colour of your choice to begin with. Your decanted slip can be reused, so if you scored full points in "Kill the Bubbles", just pour your slip from the mixing bowl back into your pouring container. If some bubbles managed to escape your beady eye, just blow them away. I am including some more pictures on this process, but the steps have been explained above. Just remember before you drain to ensure that the walls are a little thicker than they were previously. Wait about 5 or 10 minutes before you drain.
Now leave your work table for an hour and go do something else. Clucking over your molds like mother hen now will only result in you ruining your efforts as you will, in your enthusiasm, open your molds too early *grins*.
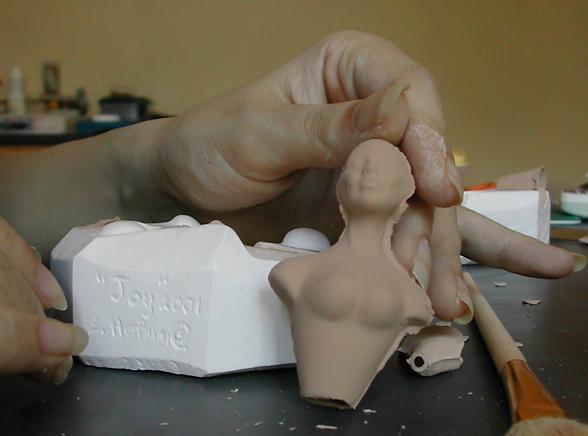
Opening your molds:
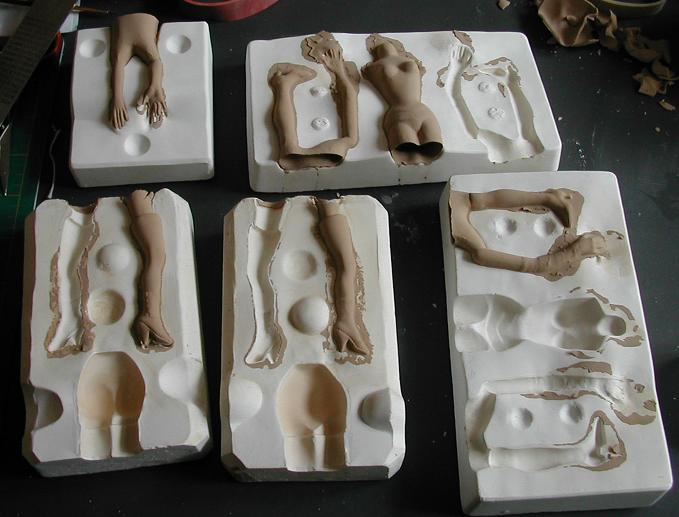
Ah the moment of truth has arrived. Before you open your molds, pick away at the slip trails (dried slip which has settled around the pour hole on top of the mold either during draining or due to overspills during pouring) that surround your pour holes as I find these hamper the un-molding process. Just be careful not to pick too much of the plaster in the process. I tend to do that. Remove your mold bands carefully and open your mold by lifting one half straight in an upwards direction whilst holding on tight to the bottom half. Your technique may vary, but this is what I use. Just remember not to use any sideways motion or you will risk ruining your casting. If your mold does not open relatively easily, leave it for a few minutes and try again. Once your molds have opened, gently lift your castings out. They will shrink as they dry, so if you cannot get them out immediately, wait a bit longer. You will now have all your perfect castings with seam lines which we will proceed to clean up nicely.
No, these are not ghost hands, the camera flash was switched on by mistake.

Tools used for clean-up:
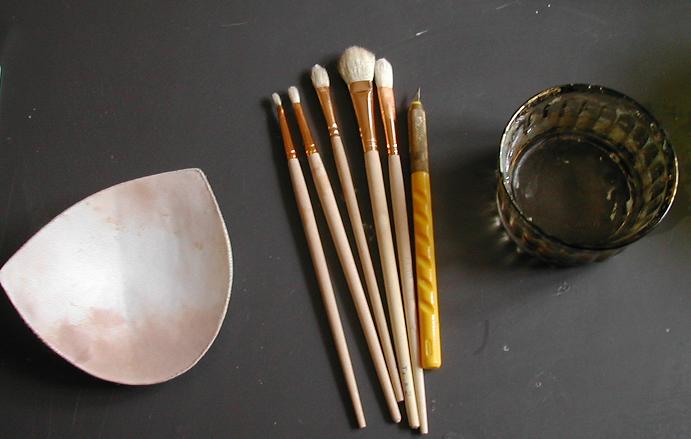
The picture shows the tools you will need. An X-Acto knife, a few brushes, a pot of water and I don't think the item at the left needs describing. I got mine from a bikini *grins*. The brushes are the Tib's clean-up brushes, which work very well and you can get them from Jackie at www.houseofcaron.com. If you do this slow and calm, you will do a perfect job. Cleaning up is an easy and relaxing process and there are several ways to tackle this. You will find the one which suits you best. Again, there are no hard and fast rules about when to begin the clean-up process. You can begin immediately, or wait an hour or so for your casting to be sufficiently firm before you tackle the process. I usually start work on mine immediately, but if I find a piece getting too wet, I leave it aside for 15 minutes and work on another.