The clean up process:
Here's what I do:
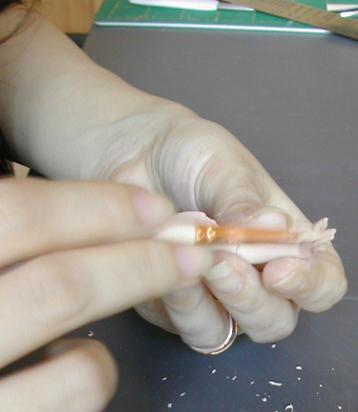
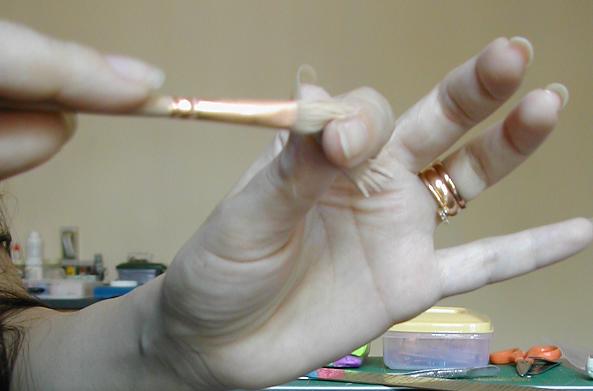
1. I gently cut away the seam lines with an X-Acto knife, cutting as close to the surface as possible. Smooth clean cuts, and hold your blade parallel to the surface.
![]()
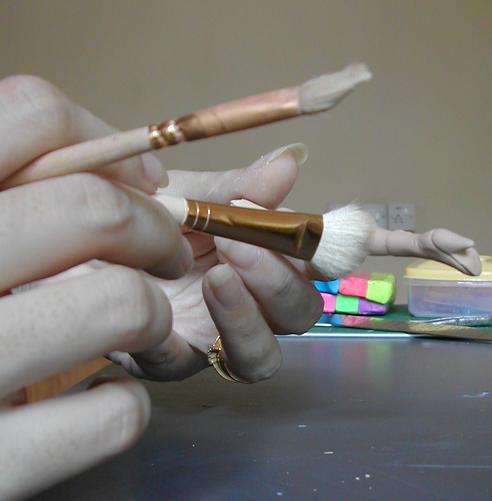
2. Then I dip one of the medium sized Tib's brushes in water, (remove excess water, because what you want is a damp brush not a dripping one) and then start brushing away at the seams over and over until they reduce. Resist the urge to clean your brush as the material which has been brushed away has a sort of sand paper effect and helps remove the other parts easily. I work small sections at a time, and when I am satisfied that my wet brush has done it's job properly, I take the largest sized dry one and brush at the freshly removed seam, which helps dry it and smoothen it out.
3. Alternatively you can also use a nylon stocking dipped in water or a damp bikini cup to remove the seams (not advisable if you have really long fingernails though) and dry it with the large sized Tib's brush as explained.
4. The smaller Tib's brushes are used to clean fingers, the area in between the fingers and other smaller parts of the casting, using the process described in point 2. above.
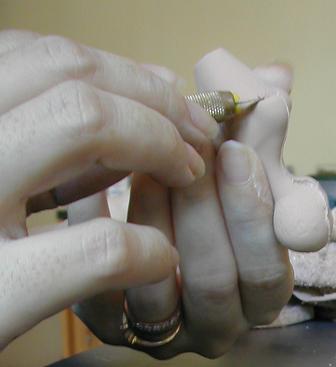
5. A great little tool for cleaning the section between fingers is a "finger clean up tool" available through Jackie at www.houseofcaron.com. The picture is not too clear, but basically it's a little pin, with the tiniest saw teeth and it cuts away at material on the pull stroke. Dampen the area before you use this tool to prevent accidental breakage.
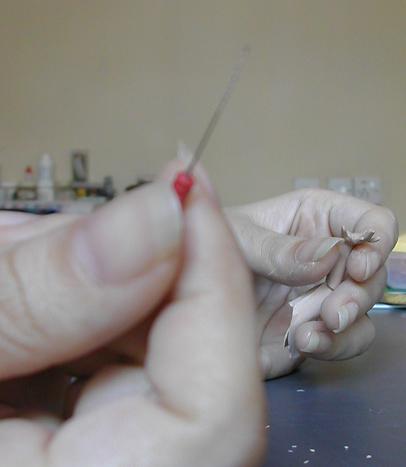
The area between fingers can also be cut away using some damp and really thin sandpaper. Again dampen both sandpaper and fingers slightly.
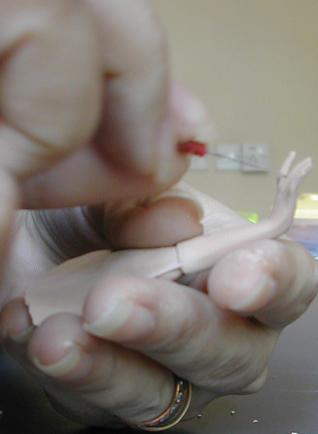
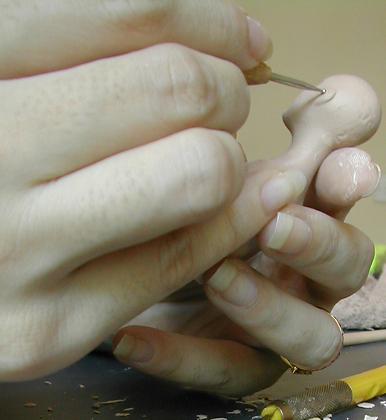
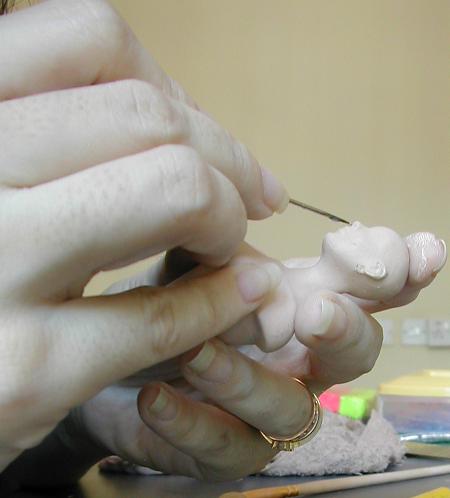
6. Once you have finished cleaning all seam lines to your satisfaction, you can do a bit of detailing on the dolls ears and nostrils if you like. I use a ball tipped stylus for enhancing ear detail and a pin for opening nostrils slightly.
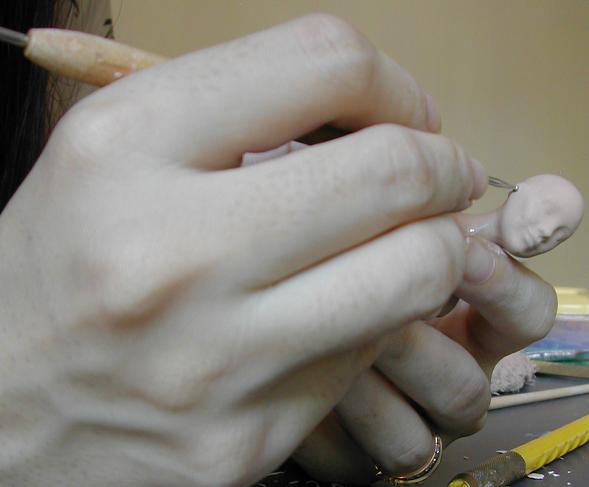
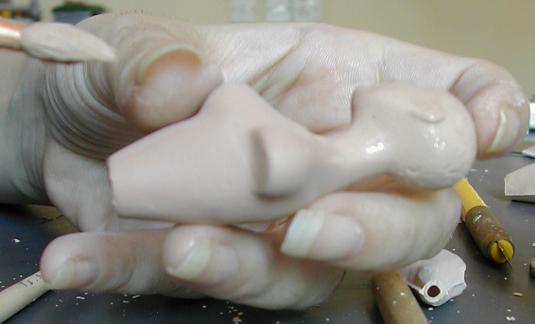
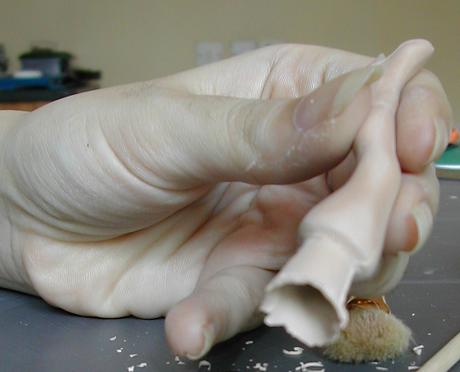
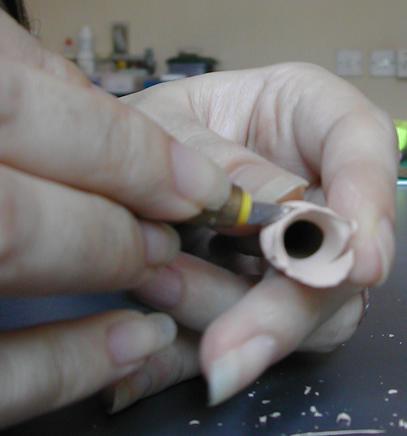
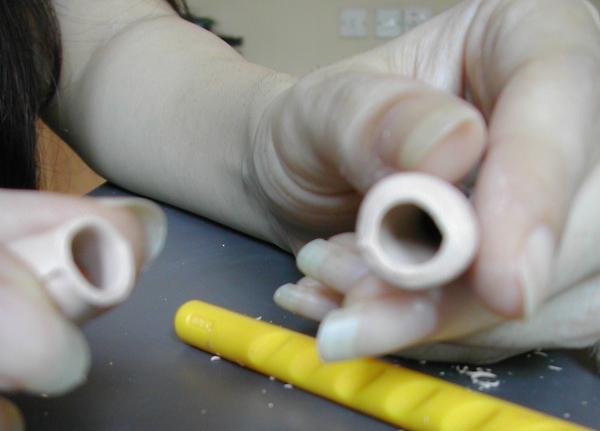
7. Finally just cut off the pour hole sections with your X-Acto knife. I usually leave this for last because it's good to hold on to those areas whilst cleaning up. Sometimes they break away during the un-molding process, but if they have not, now is the time to cut them away as illustrated. I do this by making a light groove all around the portion and then go over it again and again until it separates easily. Using too much pressure may result in a doll part breaking and you don't want that. Once the part comes off, you can smoothen area on your doll with a damp brush.
That's it folks, leave your castings to dry overnight and you can begin painting and costuming your gorgeous doll. (With Liquache, waiting longer results in more shrinkage.)
Some tips on mold maintenance:
Don't use any sharp objects inside your mold or you will ruin the detail. Using water to clean your molds is a strict NO NO. Perhaps the surface of the mold can be cleaned using alcohol dipped in some cotton wool. But do not clean inside the mold. You should not need to, because when your casting comes out, the area inside the mold is left clean.
Conclusion:
I hope this tutorial inspires you to attempt using these wonderful materials. Believe me they are a doll makers' dream. In time, perhaps you will even be able to make your own molds. Good Luck!!
If anything is unclear or you need any further explanation or perhaps just someone to hold your hand whilst you try these techniques, do write to me at info@magicminiatures.com. I would also appreciate your feedback on this tutorial.
To see some examples of dolls I have created with this technique using Flumo or Liquache, click here.