Tutorial on making an Indian doll
India, is a country of colour and exotic fabrics and I have often wanted to create an Indian doll. There are several costumes considered to be traditionally Indian, and the most common of these is the "sari", 6 yards of fabric wound around the body in an aesthetically pleasing way. To duplicate a sari, would be difficult in miniature, because the bulk of the pleats at the midriff would make the doll appear bulky, so I opted for a "ghagra choli" instead. A ghagra choli comprises a ghagra, which is the skirt, a choli which is the blouse and a dupatta or a scarf.
Having decided upon the outfit, I got to work trying to find pleasing colours and fabrics and plan the doll in my mind. Usually the most interesting stage in doll artistry.
So let us now begin this fun project of dressing Meenakshi step-by-step.
I will be taking you through a series of photographs and describing what I have done in detail. If anything is unclear, please email me.
I won't be listing tools and materials because I tend to use what's lying around. Most of the people reading this are doll artists and will have these basic tools which I have used.
I have used a doll with a dark skin tone for added realism. Bare feet are important so make sure you do not use a doll with those pretty Victorian boots. Full arms are preferable, but if you would like to use half arms, go ahead. The choli will just have to have longer sleeves. So the only must haves are the dark skinned doll and bare legs.
Assembling your doll and preparing the stand
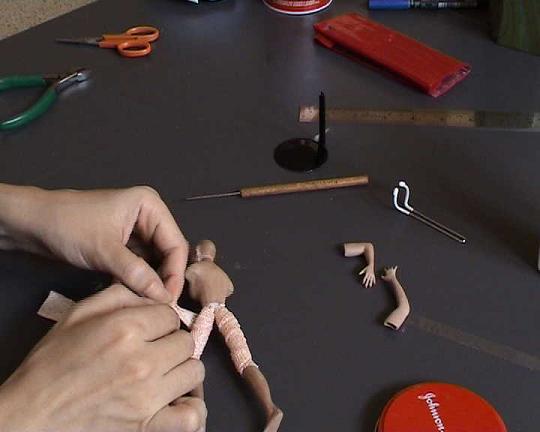
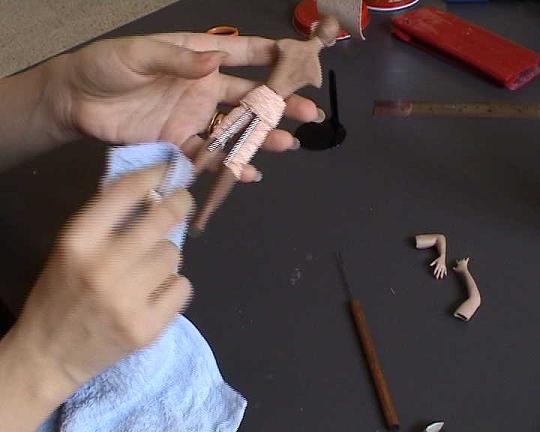
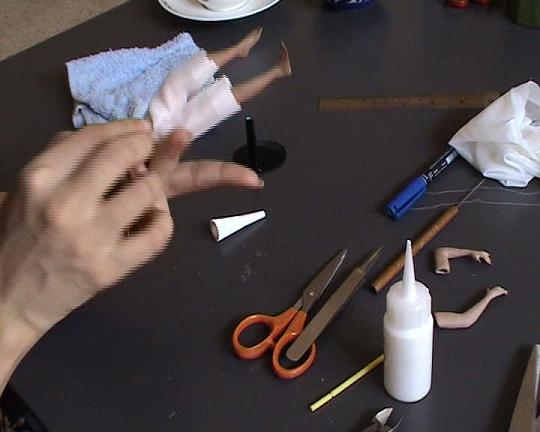
Take your doll, paint and assemble her by putting on her legs. Arms will come on later. I painted her using acrylic paints and gave her dark eyeliner and a bit of heavy make-up. A while ago, I took one of Dana's classes to costume an Edwardian doll and I learnt how to use self adhesive bandages from her. As you can see, the doll has been assembled using pipe cleaners and I have covered the pipe cleaners with Johnson's self adhesive bandages for padding and support.

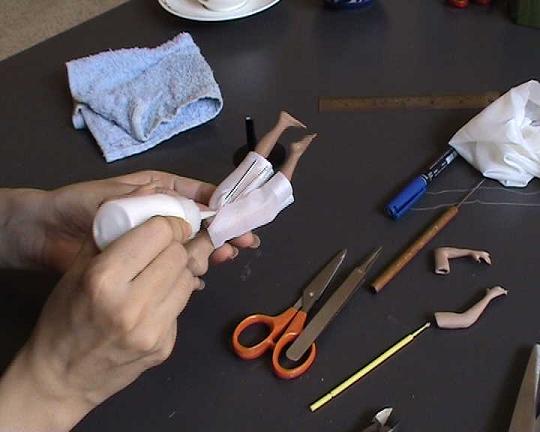
Each leg is worked individually. Stretch the wrap as you co along and it will blend in almost seamlessly.
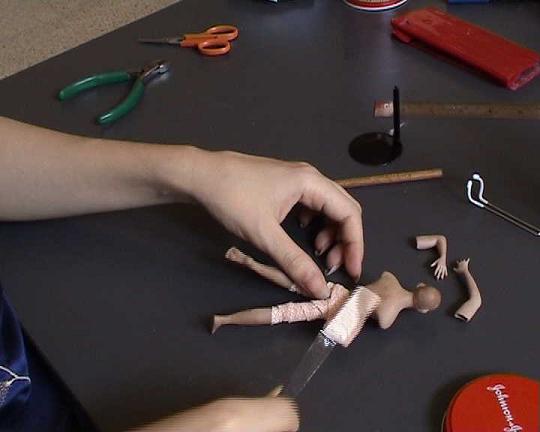
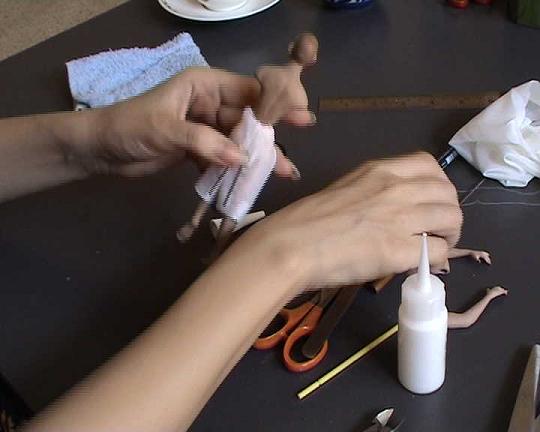
Once her legs and thighs are wrapped, you might want to give her some padding in the hip section. Just take a length of bandage and wrap it around her hips. Don't go overboard here because it's important for the doll to be slim so the outfit will hang better.
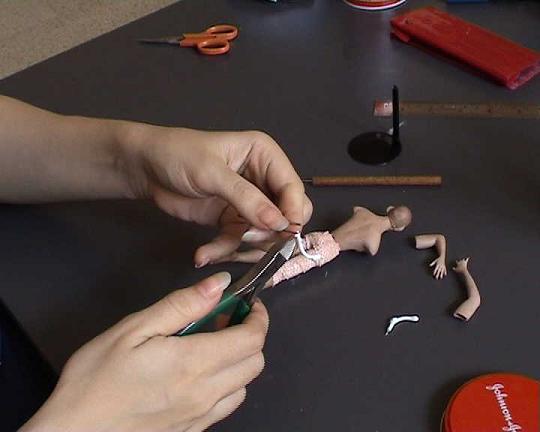
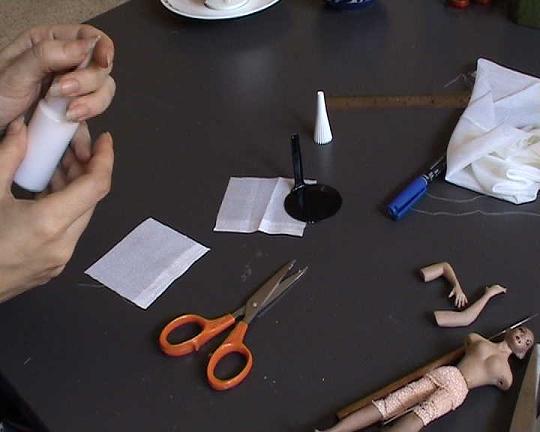
Dana also taught us a really innovative way to use a stand and this eliminates the need to have those plastic covered arms gripping the dolls waist. What you have to do is snip of the arms of the stand until only a hairpin type "U" shape remains.
The picture below shows the stand parts. The silver "U" shaped object is one of the stand parts with arms removed.
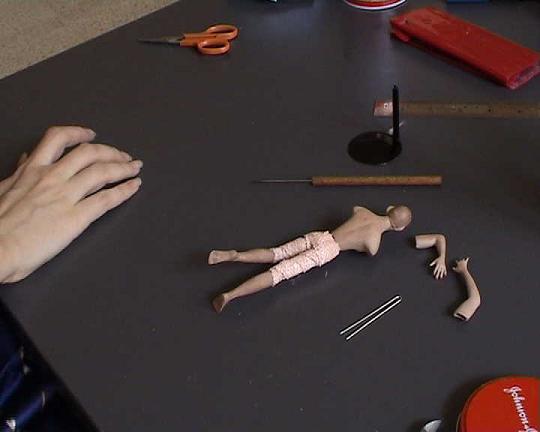
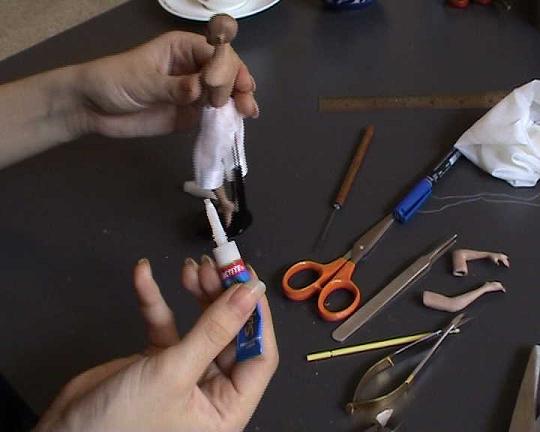
The "U" shaped section is placed on the doll and I use a few drops of superglue to hold it in place. The bond created is permanent.

For added support, wrap another length of adhesive bandage over the glued on "U" section. A few more drops of super glue on top of the bandage (It will seep through and bond perfectly) are all that is required.
Indian dancers tend to wear some shorts or a trouser type thing under their ghagra's. When they dance, they tend to swirl around in circles. The skirt does rise quite a bit so the shorts do serve a purpose. These are usually made from a clingy fabric like jersey, but I have used chiffon. I have also made the shorts longer so that the primary purpose of covering the bandaged portions of her legs is accomplished.
Making the shorts is easy. Just cut two rectangles and glue each one in half leaving a little over an inch open on top.
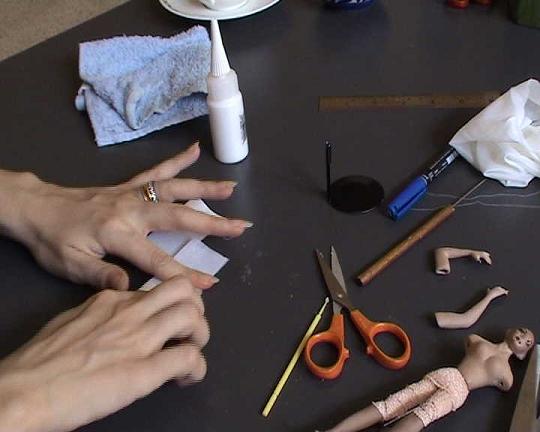
Slide this on the doll. The part you have left open will form the crotch section.
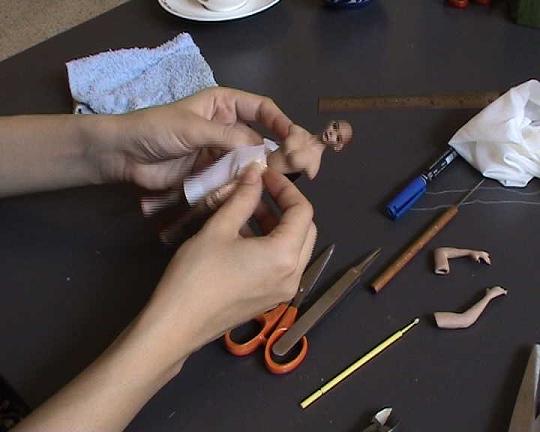
Glue the second one in place. Where the open ends of the two rectangles meet, fold the fabric and glue so a neat line is formed.
The "U" part of the stand must stick out as shown. The picture below shows me making the back seam.
Any loose fabric around the waist can be gathered and glued or better still excess fabric can be pushed under the torso of the doll.
Now place the doll on the stand by pinching together the ends of the "U" and sliding these into the channel on the stand. Position her legs to form an attractive pose and super glue the "U" to the base section of the stand as shown.
| Page 1 | Page 2 | Page 3 | Page 4 | Page 5 |